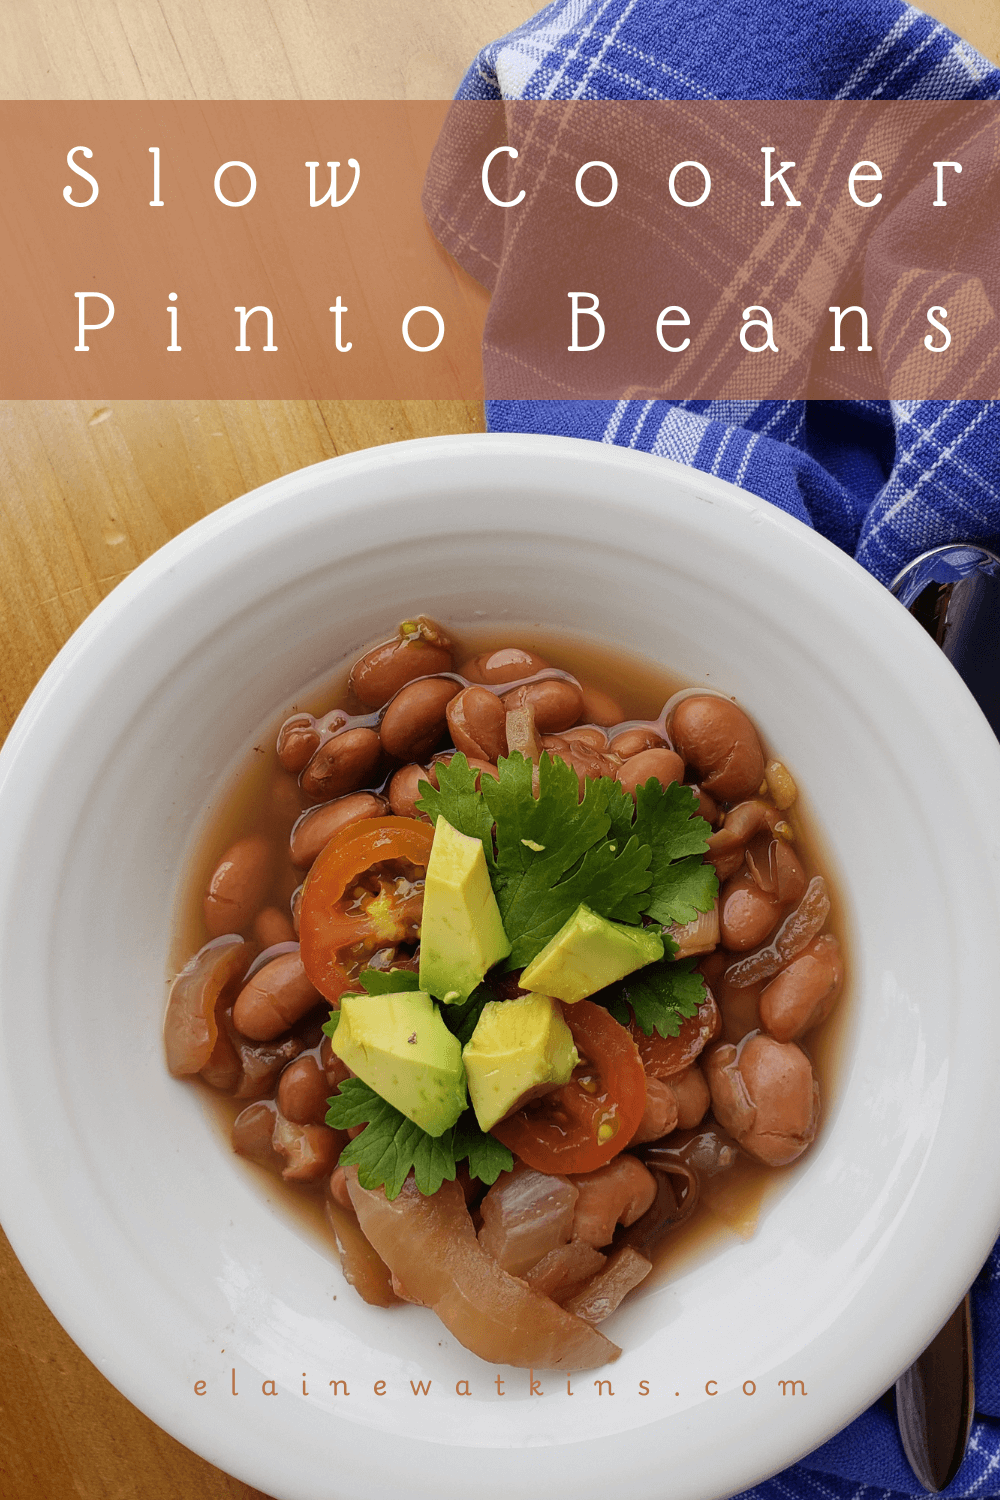

Budget-Friendly Slow Cooker Pinto Beans
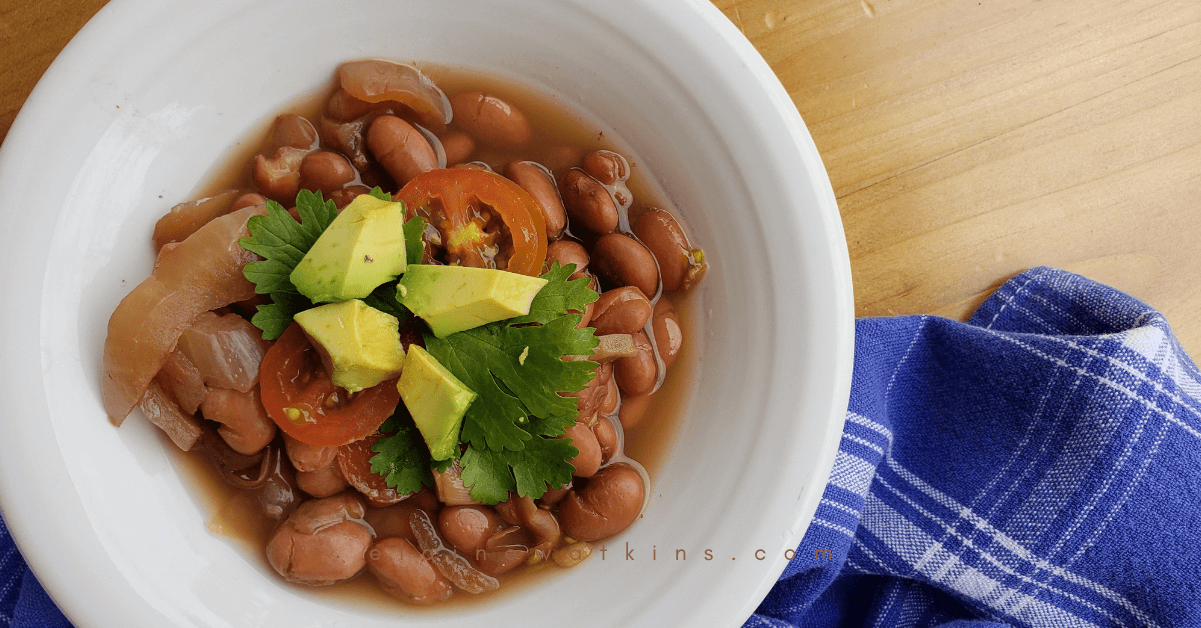
I love it when I can simply set up ingredients, with minimal work on my part, and then just walk away to do all the other stuff that needs to get done while the meal practically prepares itself. If that sounds like a worthwhile consideration for you, then try these budget-friendly pinto beans.
Bean Benefits
There are a few reasons why beans are an easy go-to when planning meals for a busy family, including:
- high in fiber and a slow-low carbohydrate that helps keep you satiated longer,
- high in amino acids, B vitamins, magnesium, and potassium,
- budget-friendly and last across multiple meals,
- lots of variety and combination options,
- can support digestion and feed beneficial bacteria,
- freezer-friendly.
Beans can be problematic for some however, and are excluded from certain diets including low FODMAP, Autoimmune Paleo and Paleo, and anti-Candida.
Concerns often tie to the presence of lectins, so smart soaking and then cooking beans can diminish the problems caused by these.
The fact that you are choosing to start with dry beans allows you more control of your beans and any additional ingredients and preparation. Can I make a few suggestions to also support your enjoyment and health benefits:
- choose dry beans (preferably organic) from a source with a quick turnover for a better chance of getting the freshest beans
- store in a sealed container in a dry, cool area
- soak for 8-12 hours in water, salt, and a pinch of baking soda (if you have hard water), and rinse thoroughly before cooking (in fresh water) for soft beans and reduced gas-production

Time to Soak
I usually measure my dry beans onto a good size plate or edged cookie sheet and sort out any broken beans, dirt clods, or other non-bean items and then rinse well and transfer the beans to a metal or ceramic bowl and add fresh water that will allow the beans to double in size while remaining under the soaking water. Add salt and (possibly) a pinch of baking soda if you’re using hard water. Cover and set aside to soak overnight or at least 8 hours.

Once done soaking, rinse the beans thoroughly to remove any residue from the soaking water.

Time to Cook
Then I transfer the beans to either my 6.5 quart Crock Pot on high or my Dutch oven to cook on the stove a Medium Low.

I usually add onion, garlic, a dollop of lard or a hambone, herbs, plus turmeric (anti-inflammatory), and a chopped sheet of dry seaweed (Iodine) cooking.

A flavorful family recipe that everybody loves!
- 3 Cups Pinto Beans (Dry but not old)
- 20-24 Cups Water (Soft)
- 3 Tablespoons Salt (Unprocessed)
- 1 Onion (Stemmed, peeled, and diced)
- 2 Cloves Garlic (Stemmed, peeled, and minced)
- 1-2 Tablespoons Herbs (Cumin, Bay Leaves, Oregano)
- 1/2 Tablespoon Turmeric (Ground)
- 1 Green Bell Pepper (Stem, seeds, and white flesh removed; diced)
- 1 15 oz Can Diced Tomatoes
- 1 Tablespoon Pepper
- 1/4 Cup Cilantro (Fresh; stemmed and chopped)
-
Measure beans into large plate or cookie sheet and sor out broken beans, dirt particles, and other debris.
-
Rinse well, then transfer to large bowl and immerse in fresh water to enable beans to double in size and remain submerged. Add tablespoon of salt and a pinch on baking soda (if using hard water). Cover and set aside for 8+ hours.
-
Drain off soaking water and rinse thoroughly.
-
Transfer to your Dutch oven and add fresh water to cover the beans + about 2 inches above and cook on Medium-low for 8+ hours.
-
Add herbs, lard or hambone, remaining salt.
-
Serve.
This keeps well in the refrigerator for 3-4 days, but you can also freeze flat in a gallon size freezer bag.

Serving and Storing Your Budget-Friendly Slow Cooker Pinto Beans
On my Crock Pot, I set my temperature for low and for 8 or more hours for it to be ready to serve by dinner time. But I’ve also cooked overnight and enjoyed freshly finished beans with breakfast.
I usually add tomatoes and cilantro near the end of the cooking process, but we also usually add those along with fresh avocado and maybe some sliced jalapeno pepper as topping selections when serving too for an additional fresh bump to the taste and texture.
This recipe will last our family through several meals, and then usually on the 2-3 day, I’ll freeze the rest flat by servings for quickly thawed and warmed meal on days when I don’t want to cook.
What I Use For This Recipe
Just as a quick reference for you, I use:
NOTE: I’ve given you links to selection of online resources for your easy access and consideration.
As an easy meal to set up and then let soak or cook while I’m taking care of everything else, I can definitely say this recipe really eases the attention I’ve got to usually pay to prepare for at least 2-3 meals and usually more.
With so little an effort on your part, a nice low price, and such tasty goodness, how can you not try this?
We love this recipe as a stand alone meal with tortillas or chips for dipping. We also commonly add diced avocado, sauteed peppers and onions and salsa, so I’ve linked those recipes below.
Enjoy!